These WordPress design guidelines are business-oriented and aim to help your digital agency streamline your process for creating websites for your clients.
If your approach to WordPress design is to choose an existing theme for your project and tweak it to your client’s liking, then this article is not for you.
However, if you first prepare custom web designs (using e.g. Photoshop or Sketch) and then build the sites as custom WordPress themes, I have some insights to share.
To design or not design
Why do I bring this up in a guideline for WordPress design? Well, it’s pretty common for smaller agencies to “design with code”. That means they skip the design tool and just code the site as they imagine the design in their minds.
It’s not so surprising, since often times a digital agency is founded by a person who:
a) knows how to code HTML and CSS,
b) has a pretty good feeling for design, and
c) knows how to sell.
With design not being the main skill, preparing a design file could seem like a waste of time. Why not cut to the chase and just develop the home page so the client can try it out right away?
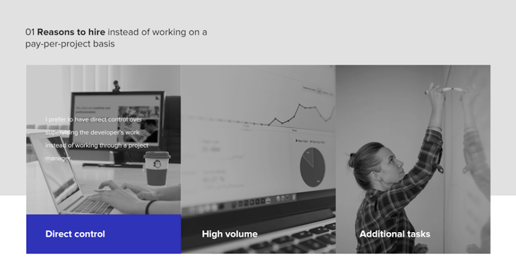
There are three main reasons why you should consider splitting up the two activities of design and development. Note: if you want to compare using premium themes or custom themes as mentioned in the intro, read this article first.
Design first: reason 1
The first reason is to take full advantage of the design freedom given by a design tool. In Photoshop, you can move around your layers and experiment with multiple design concepts in little time. That should lead to a more interesting design and better concepts.
If something takes an extra 30min to code, you might not explore it as an option even if you are “designing with code”.
Design first: reason 2
The second reason is that it allows you to hire specialists in both design and coding. Maybe you know both, but finding another person who somehow managed to master both the skillsets is difficult. Trust me, I’ve talked to many agencies who failed to find them.
Instead, you hire designers who are professionals and spend all their time learning to create even better designs. And, you hire developers who know everything about coding websites (or let us do the coding for you).
Design first: reason 3
The third reason is that you will save time during the feedback stage with your client. The clients who are happy with the first iteration of designs are as hard to find as the designer+developers. They exist, but don’t build your business around them.
With design files, you can quickly change the look and feel if your client has feedback, without having to change any code. You save time and avoid getting stuck in a loop of late design changes if you proceed to development only after the designs are approved by your client.
If your client comes with requests for late design changes, you have a golden opportunity to charge them for that work since you already agreed on the designs. It is a great way to keep the pricing fair and reasonable.
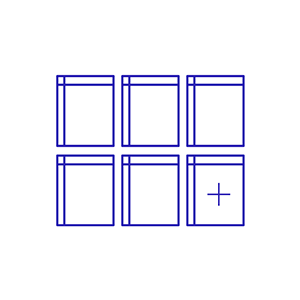
What pages do you need to design?
Our partners typically bring us the designs for 5-10 page templates. The site could have hundreds of pages when it goes live, but you only need to design each unique template.
If your agency specializes in UI/UX and your clients are willing to pay for a tailored visitor flow, you will make more templates that are tailored to the needs of each piece of content.
However, most clients aren’t ready to pay for that extra service. That means you need to be smart about how to create your templates to make them multi-functional.
The minimum set
The minimum set of templates is usually:
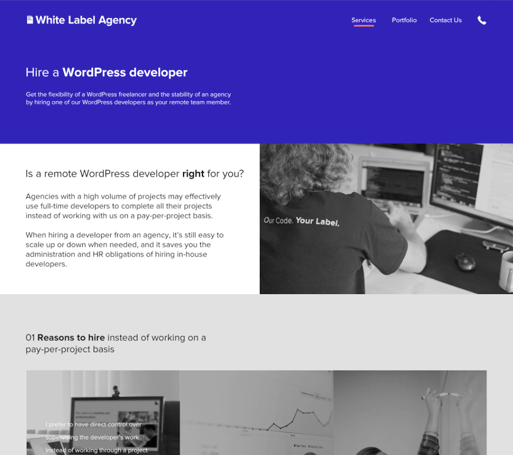
A. Homepage (attractive landing page)
B. Internal page (for all other informative content)
C. Contact us page (convert your visitors with a form, usually also includes an interactive map)
The informative set
The internal page template tends to be quite generic, and doesn’t allow you to include galleries and custom fields unless you want all the interior pages to have them.
Therefore, you’ll probably want to design the following pages as well:
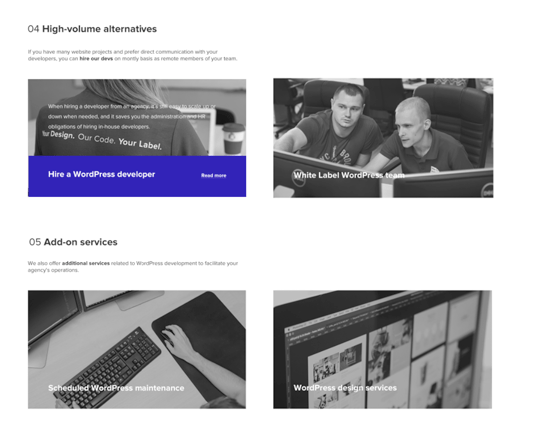
D.Services overview page (display your services attractively, maybe with a custom call-to-action)
E. About us page (team gallery and info about the company)
After that, you might want each service to have a separate page. So you have the services overview page as a gallery of services, and if you click on one of them you end up on the:

The eCommerce set
For most brochure sites, that should cover it. If you’re designing for an eCommerce site, then you also need the following page templates to be designed:
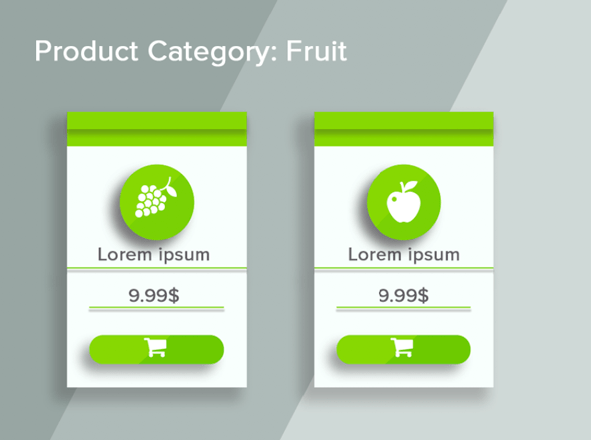
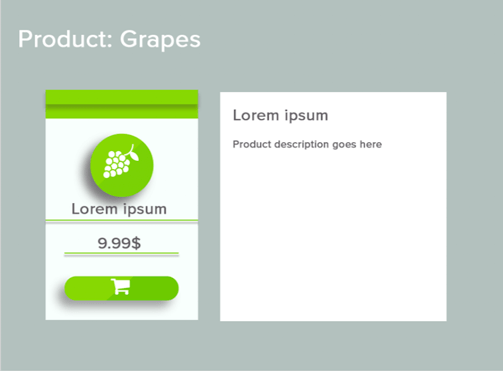
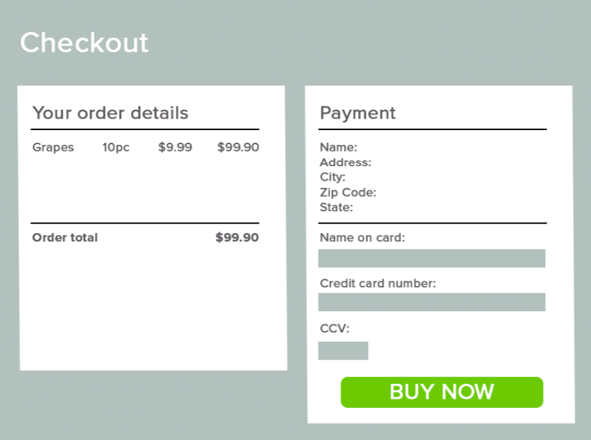
G. Product category page
H. Individual product page
I. Checkout page
I had to come up with some generic examples to illustrate these three page template designs since we don’t have a webshop on our own site.
The blog set
If your site should also contain a blog, then you need templates for both the blog overview page and the blog post page:

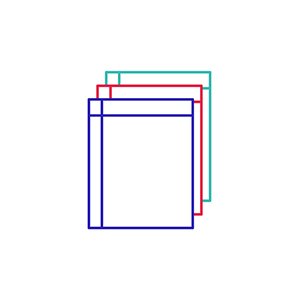
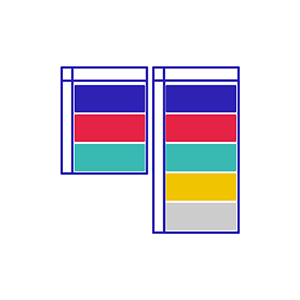
Reusable sections
We’ve already talked about how page templates are reused between different content pages, but it’s also possible to reuse sections of a page across different page templates.
If we take the section that describes our capabilities as an example, it is possible to code it in many different ways.
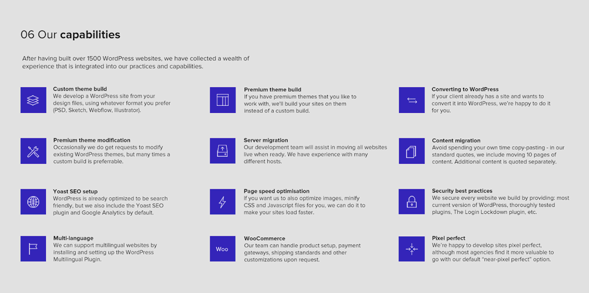
Static section
It can be statically coded, so you need a developer to go into the code if you want to make changes to the copy. Then it would also be specific to that page.
Dynamic block
Another way is to code it as a dynamic block of content for that particular page template only. You can then change the icons and text, add capabilities and take them away as you wish.
On a different page using the same template, maybe those would be used to display your portfolio instead, but with the same layout.
Global section
A third way to do it is to make a section that is global to the theme, and where the page templates simply import its content. Then you’d have the same section with the same content on all the pages that include it.
If you update one of the blocks of content in the theme settings, it will be updated immediately on all the pages that hold this block.
This last option is especially useful if you have many similar pages, and you know that this content should be the same on all of them. Otherwise, you’d have to go in and make your updates to all the pages that hold that content.
Aspects of design that drive development time
We have quoted more than 2000 WordPress designs to estimate how long it will take to develop into custom WordPress sites. Our accuracy has increased over the years, but it’s actually been very consistent for a long time. So what do our “quoters” look for in the designs?
Number of page templates
First of all, the number of page templates need to be counted. Setting up two pages on the same template takes little time, but each template needs to be custom coded. Normally, a page template takes about 2-8h to code, and you can add 4h for header and footer.
The simplest one-page landing pages would take 8-10h in total for homepage including header and footer, and general setup of the theme. Add another four-page template of 2-4h each, and you’re up to 20h of development time.
Page length
The second aspect of the designs is how many sections a page has. As described above, a page can take 2-8h, and it often depends on how many sections need to be coded. If you have a long-form site with all content on one long homepage, then you’re probably looking at 16h for only that page.
Content moving
Even if setting up individual pages based on existing pages is pretty fast, content moving still needs to be accounted for. It’s more of a project thing than a design thing, but still worth mentioning.
If you’re working with SEO for your clients, maybe you have A TON of pages that need to be created or migrated from an existing site, and it all adds up. When we build sites, we include 10 pages of content migration for free and quote additional pages separately.
Additional functionality
One of the main drivers of development time is additional functionality. Just placing images and text on the page is very straight-forward. But whenever you include a slider, a form, animations or even an eCommerce or booking system, you can count on having extra hours added to the development time.
Check out our blog post about the costs of development for more information on how much time these take to develop.

Custom mobile views
If the site you’re designing is intended to be used mostly on mobile devices (think locksmith), then you might want to have extra control over what the mobile view looks like on your pages.
Developing a site using the grid and responsiveness that are already built into a CSS framework (like Foundation or Bootstrap) ensures that your site looks good on mobile devices by default. Or at least with a few tweaks. On a fairly complex site, it can take an additional 8-16h of development to make them work properly, while on simple sites it’s only a couple of hours.
However, sometimes you want the mobile designs to be a bit different than the desktop version, and then you can prepare design files for these formats too. These will require extra development time, probably 10-25% extra on the total for the site.
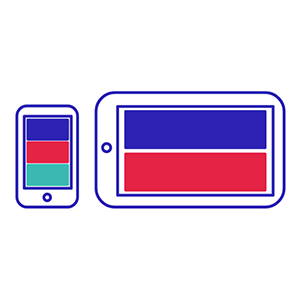
Responsive designs
While we’re already on the topic of mobile views, let’s dig into what makes for a good responsive design. Quoting Wikipedia: “Responsive web design (RWD) is an approach to web design which makes web pages render well on a variety of devices and window or screen sizes.“
Designmodo has collected a number of examples of how designs can look in desktop and mobile mode, showing the effective use of column grids and sections that either scale or fold underneath each other.
Understanding the column grid is key to designing WordPress sites that are responsive out of the box. w3schools has an article that helps you get the idea if you’re new to the concept. I asked one of our senior WordPress developers what is the best way for a designer to simplify his work, and his first reply was “using the column grid”.
The most common to use is the 12-column, and for positioning and setting size to your elements, you should try to stick to a grid with 12 columns. Google for “how to set up a responsive grid in photoshop” or just check Adobe’s help section if you want to learn how it’s done.

Try to think of the content in terms of how it occupies the rows and columns when you design, as in the example by w3schools, since that is how your developer will see the designs.
Specifying fonts and colors
Another great way to simplify for your developer is to make the interior page design hold the typography and color guidelines that you’re looking for. Just like in a normal text document, it’s easier to define paragraph styles and then apply those to your text than to set for each headline a custom font size, typeface, and decoration (e.g. Bold).
Show how you want the standard h1, h2, h3 tags, links and hover effects to look like on your site as defaults. Then stick to those styles throughout the pages that you design. Not only will it make your clients’ sites more consistent with their brand guidelines, it will also make life easier for you and your developer.
Animations
Many sites today use animations to bring life to the experience of their visitors. It’s a common argument for choosing a premium theme, since they are often using animations in abundance. Some clients fall in love with animations and can’t let go.
It’s not that easy to specify how animations should work when making custom designs in Photoshop or Sketch. However, there are solutions to that as well.
You’ll find libraries of named animations if you search for it that you can use as a reference in the designs, or in a separate project brief for the developer. Check out this one for hover effects on buttons, and this one for hover effects on images for instance.
Additional tips and tricks
To round off these WordPress design guidelines, I’d like to give three pieces of additional advice. These are smart ways to express your design intent right in the design files to avoid having to give corrections to the developer after it’s built.
- Prepare for the extremes. If you are designing a team page displaying four members in each row, then make the design show what the page should look like with 5 or 7 team members. Show one team member without a profile picture to set the default avatar. Use long names to show how to break them into rows if needed.
- Show what the hover effects should be. One way is to insert hidden layers with “hover” in the name in your design file. Another is to add a cursor to the design pointing to one of the objects in a repeater (e.g. team member picture) with the hover effects activated.
- Comment on your designs. Use InVision or MarvelApp to explain design elements and collaborate in your team around feedback on your mockups.
Conclusion
We want web designers to have the freedom to prepare custom designs for their clients. We also want their agencies to be successful, and higher efficiency will benefit both themselves and their clients.
This guide presented a collection of best practices that we’ve learned over the years from working with many agencies, and seeing a lot of web designs. There’s much more to the trade, but here are three key takeaways:
- Separate the roles of designer and developer if you have the opportunity
- Stick to the column grid whenever you can on the designs
- Take full advantage of page templates and header styles to reuse them whenever possible. It saves your time, your developer’s time and makes the site look coherent with your client’s brand.
If your agency could use some help to convert your custom designs into WordPress sites, reach out to us via our form or give us a call. That’s what we are in business for and welcome the chance to help your agency grow.